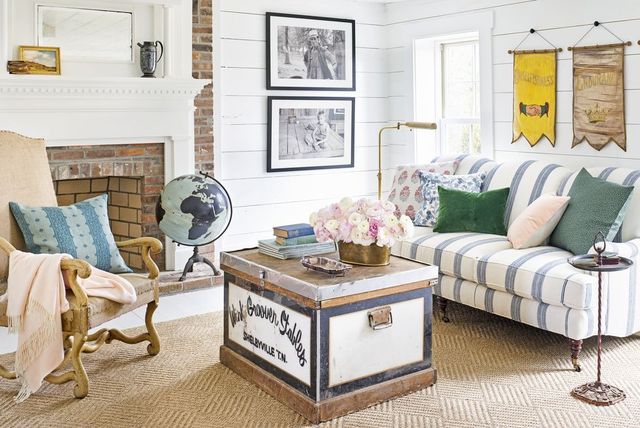
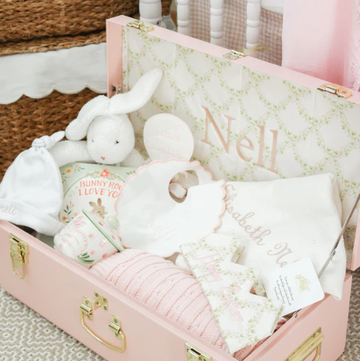
It can be hard to achieve the right balance of "heirloom chic" when you're decorating your house, especially when you're short on cash and want to use old things that don't look, well, old. But another way to add a little refresher is to look around your house and find furniture that needs a little rehabbing—you can reupholster an old chair, perk up an old sofa with new throw pillows, or trade out a coffee table for a new ottoman. Or you can go the opposite direction and distress some furniture that looks a little too "new" for your taste. If you're down for the easy task, here's what you need to know:
What You'll Need to Distress Furniture
- Sandpaper
- Paintbrush
- Candle
- Steel wool
- Rags
- Drop cloths
- Paint(s)
- Polyurethane
Step 1: Protect Your Space
Lay down the drop cloths in the space where you plan to get down to business.
Step 2: Protect Your Hardware
Remove the hardware (knobs, pulls, handles, etc.) from the furniture that you plan to distress.
Step 3: Sand Your Furniture
Thoroughly sand the piece. Really put some effort into this step—especially if it's been painted or polyurethaned before. Once the surface and the corners have really been sanded, you can wipe it down with a rag to get all the dust and crusties off.
Step 4: Paint Your Furniture
So you have to make some decisions before you start the process. When your painted piece is distressed, do you want to see wood (or whatever state it's currently in) or do you want something completely different—like a different paint color—when it's distressed? The answer is going to affect this step. If you're cool with seeing whatever is currently there, go ahead and paint the piece and allow to dry. If you want to see a new color when you finally distress, paint the piece in that color and let it dry.
Step 5: Wax Your Furniture
Apply candle wax to various places on your piece of furniture and then paint the entire piece your second color. Don't worry: Paint won't stick to the waxed areas, so it's going to be easy for you to remove so you can see the first coat. But that means you need to be extra mindful of where you apply the wax. Don't do too much in one area, and don't neglect corners and edges.
Step 6: Go to Work with Sandpaper and Steel Wool
Once everything is totally dry on your furniture, you can start the distressing process. If you used two colors, use steel wool to remove paint in the waxed areas and follow up with sandpaper in other areas for varying degrees of distress. If you just have the single color, you can use sandpaper to to distress the paint and show off the wood beneath. Once you've achieved the desired effect, remove dust with a rag.
Step 7: Polyurethane Your Furniture
In order to protect your one-of-a-kind craftsmanship, paint on a layer of polyurethane. Once it's completely dry, put back on all of your hardware (or add new hardware for a completely new look!) and invite friends and family over to admire your craftsmanship.


